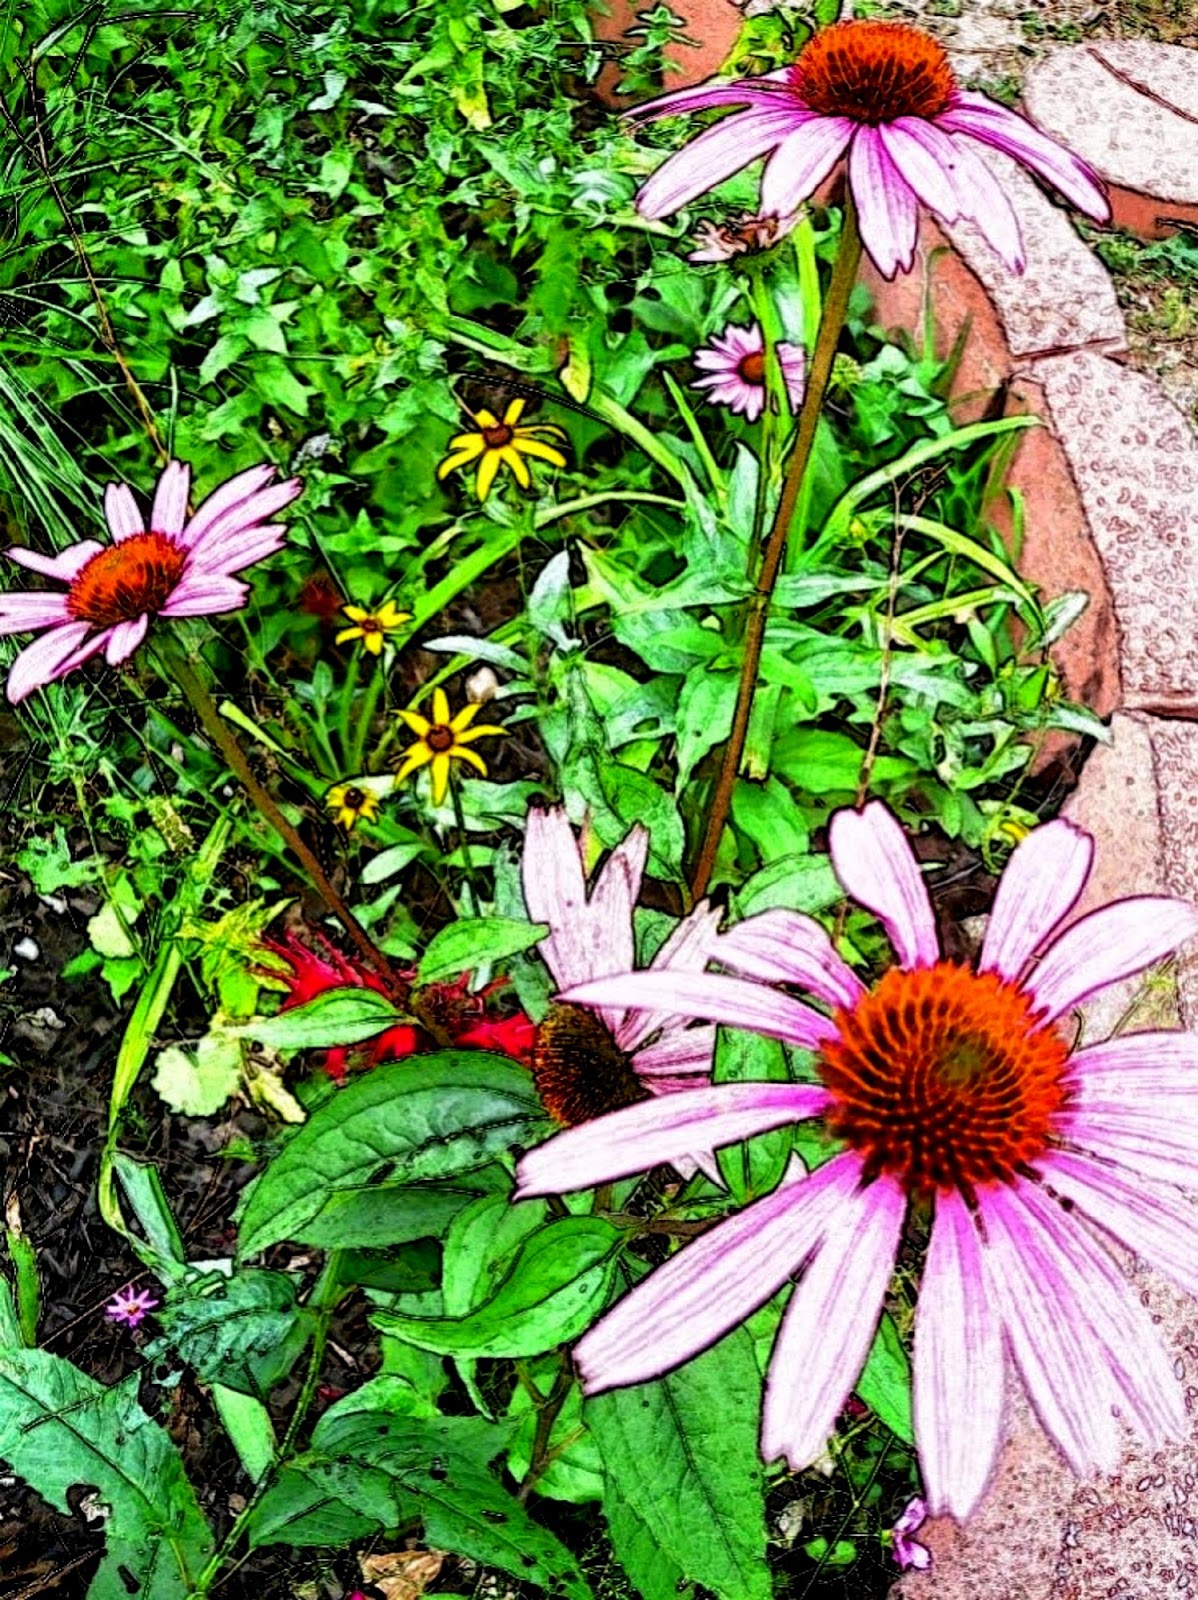
Monday, December 31, 2012

Garden Tips for Growing Coneflowers


My coneflower garden
Grow Echinacea coneflowers and fill your yard with colorful blooms midsummer through fall.  Coneflowers are one of the easiest and most rewarding native plants, hardy almost everywhere in poor soil and drought tolerant.

Many gardeners grow coneflowers in a prairie or cottage garden with companion flowers daylily, black-eyed Susan, daisy, zinnia, catmint, and bee balm.  The flowers will attract butterflies, honeybees, hummingbirds, all summer long and in the fall songbirds arrive to forage on the big, seeds.


Garden Design
Design your coneflower garden in early spring. Decide on the color scheme and the type of garden. Use colored pencils to indicate the types of flowers. This garden design will help you when you plant your flowers.  Consider adding a water feature; birdbath or fountain as well as a garden bench so you can enjoy this visually appealing wildlife garden.

Where to Plant
Select a garden site that has eight hours of direct sun and well-drained soil.  Prepare the garden site by removing grass, weeds, and rocks. Loosen the soil with a tiller or shovel. Amend the soil with three inches of compost. For a mass planting or prairie garden, dig a trench that is as deep and wide as the nursery container. 

How to Plant 
Remove the flower from the nursery container. Set the container on its side and tap lightly on the side to loosen the soil, roll the container to the other side and tap again.  When the soil is loose gently, remove the plant from the container.  Gently shake the excess dirt from the roots and loosen the entwined roots from the root ball.  

Set the plant in the hole and place the roots on the soil so that they will grow outward. Fill in the hole with soil and firm the soil around the stem of the plant. Water the transplants well. To allow for growth, leave a space of twelve inches in-between plants.


Caring for Flowers

  1. Feed the plants with water-based fertilizer that is formulated for flowers.  Follow the direction on the fertilizers for the amounts needed for your garden size.   
  2. Apply two-inches of pine needles, dried grass clippings or wood bark chips.   The natural mulch will enrich the soil and aid in keeping the soil evenly moist. 
  3. Cut back flowers after a hard frost and apply two inches of natural mulch to your garden bed.
  4. Remove the mulch in spring and fertilize with all-purpose (the flower formula), I use miracle-gro.  
  5. Watch for new growth.  If flowers come in thick and appear overcrowded, divide the clumps and transplant in spring.


Tips

  • Mature plants are drought tolerant.
  • During blooming season, remove spent blooms to encourage more flowers.
  • Coneflowers will tolerate some partial shade in the heat the day.
  • Water transplants daily until roots are established. Then water as needed, or a couple times a week.
  • Weed the garden monthly to stop weeds from competing with flowers for nutrients.
  • Leave seedheads to provide food for songbirds.
  • Grow  in USDA zones 3-9. 


Warnings:

  • Overcrowded coneflowers will attract powdery mildew.
  • Check your garden for the Japanese beetle.  Treat garden pests by dusting with Diatomaceous earth food grade.
  • Buy Coneflowers live plants not seeds at Brecks.nursery.com or Greenwoodnursery.com


Tuesday, December 4, 2012

Astilbe Growing Tips


Astilbe is a low-maintenance tall and feathery flowering plant that will add color and texture to your shade garden. This shade perennial plant has eye-appealing flowers that bloom June through July and in the fall the plumes will add interest to your yard and garden. If you enjoy ornamental grasses then plant the astilbe close to your outdoor living space so you can enjoy viewing this interesting plant.

Photographs of astilbe gardens.

Astilbe grown with hosta plants: shade garden
Astilbe and Hosta plants


 Planting and Growing Astilbe


Before you can grow the astilbe you need to decide on the area in your yard that will accommodate the plant.  It is best to choose a section that provides ample room otherwise you will be transplanting often to prevent overcrowding.  When fully grown the plant will be 6 to 40 inches in height and 18 to 30 inches wide.
Decide on the design of your astilbe garden; will you be growing this plant in masses or with other shade-loving plants; fern, lily of the valley, ladies mantle, or hostas? 

What colors will work well with your garden?  The flowers come in a variety of colors; white, magenta pink, lavender, and red. 
Clear the growing site by removing the grass, weeds, and debris.  For massive plantings, it is best to use your tiller to break up the soil.  Break up the clumps of the soil so that the soil is a fine texture.  Dig a hole in the soil that is the same depth as the nursery container. 

Gently remove the plant from the container by setting the container on its side and rolling it back and forth, tap gently on the side of the container to loosen the soil and allow you to remove the plant easily.

Loosen the roots if they are growing in a ball.  Shake the soil away from the roots (gently) before planting.  Set the plant in the center of the hole with roots facing outward.  Backfill the hole with soil mixed with compost or manure.  Water well.  Apply pine needles or chipped wood mulch around the stem of the plant.  

If you are planting more than one then allow two feet in between the plants.

Keep the soil moist to moderate but not dry. Set up a drip line or soaking hose and water deeply every few days during the summer months. It is better to water the plants with one inch of water every week rather than water lightly daily.   Continue to water into the autumn especially if the season is dry.  Keeping the soil moist will prevent plant stress. 

After a hard frost prune back your plants and cover them with an organic mulch; pine needles, leaf mulch, or wood chips.


View this video to learn more about pruning astilbe:


Tips:

Astilbe is a perennial that is hardy to 25F – 32 C
Grows best in zone 4 to 8

Plant in spring after the threat of hard frost has passed and in the autumn six weeks before the end-of-season frost.
Watch your plants for weak blooms as this is a sign that the garden is overcrowded.  Divide astilbe and transplant every four to five years.
Every spring apply a spring fertilizer as soon as the plant starts to grow.  If your spring is dry then water to keep the soil evenly moist, the article will be healthy as long as the soil does not dry out.  


Thursday, November 8, 2012

Accent Landscape with Red Twig Dogwood


Cornus sericea (red twig dogwood) is a flowering plant that native to northern and western America.  Many people grow the red twig because it is eye appealing during all seasons; this is one plant that will add visual interest to your landscape.  

Plant the red twig dogwood where you can view it from a window. The plant features green leaves during the spring and summer and the white flowers bloom from June to August.  The flowers are lovely small cluster blooms that are fragrant and will attract butterflies and hummingbirds to your yard.

In late summer the white berry fruit appears.  This fruit is attractive to many birds; orioles, finches, bluebirds, cardinals and blue jays.  Enjoy the birds as they forage off the red twig dogwood. In the autumn  eye appealing  reddish purple leaves will appear followed by winter red bark that looks beautiful especially if there is snow on the ground. 

Growing: 
Plant is in early spring after the danger of frost has past. A sunny location is preferred although; the red twig dogwood will tolerate partial sun and shade. 

Choose a growing site that is moist and well drained.  An area that is close to a pond or stream will benefit this plant.  The red twig plant in zone 6 to 8 is medium in size 5 feet in height with similar spread.  In other areas the twigs may grow to the height of 10 feet.  Once the twigs mature the under the soil stolens will grow in thickly and create dense branches.  You can also grow in urn like containers as long as the soil is moist with good drainage.

Plant the red twig dogwood as an accent for your landscape or use it for erosion control.

Planting: 
Dig a hole that is three times the width of the same depth of the nursery container. Raise the center of the hole by two inches, forming an elevated mound in the center of the hole.  Shake the root ball lightly to release some of the dirt and use your hands to gently loosen the roots.  Do this especially if the roots are entwined as it will encourage the roots to grow outward. 

Hydrate the dogwood root ball in a bucket of tepid water a half hour before you plant.  Then plant by setting the root ball in the center of the hole on top of the mounded dirt. The elevated soil will prevent overcrowding of the roots.

Cover the roots with three inches of compost mixed with soil. Water the roots. When water subsides, continue filling the hole with the remaining dirt. Water the dogwood again so that the soil is evenly moist.  

Care:
Retain moisture and to discourage weed growth, by surround the dogwood with three inches of organic mulch; pine needles, grass clippings, wood chips or mulched leaf matter.

Keep the soil evenly moist.  Water daily with drip irrigation, water in the morning and late afternoon to prevent summer drought conditions as this will cause the red twig to suffer stress.

Learn how to prune your red twig dogwood by viewing this YouTube video: 

Tips

  1. Keep soil moist throughout growing season (spring, summer, autumn)
  2. Apply three inches of mulch in autumn.
  3. Fertilizer in spring
  4. Plant the red twig dogwood in US zones: 3 through 8.
  5. Red twig dogwood is deciduous.
  6. The twigs are plyable and make for attractive wreaths and holiday decorations.


Sgolis recommends these products: